
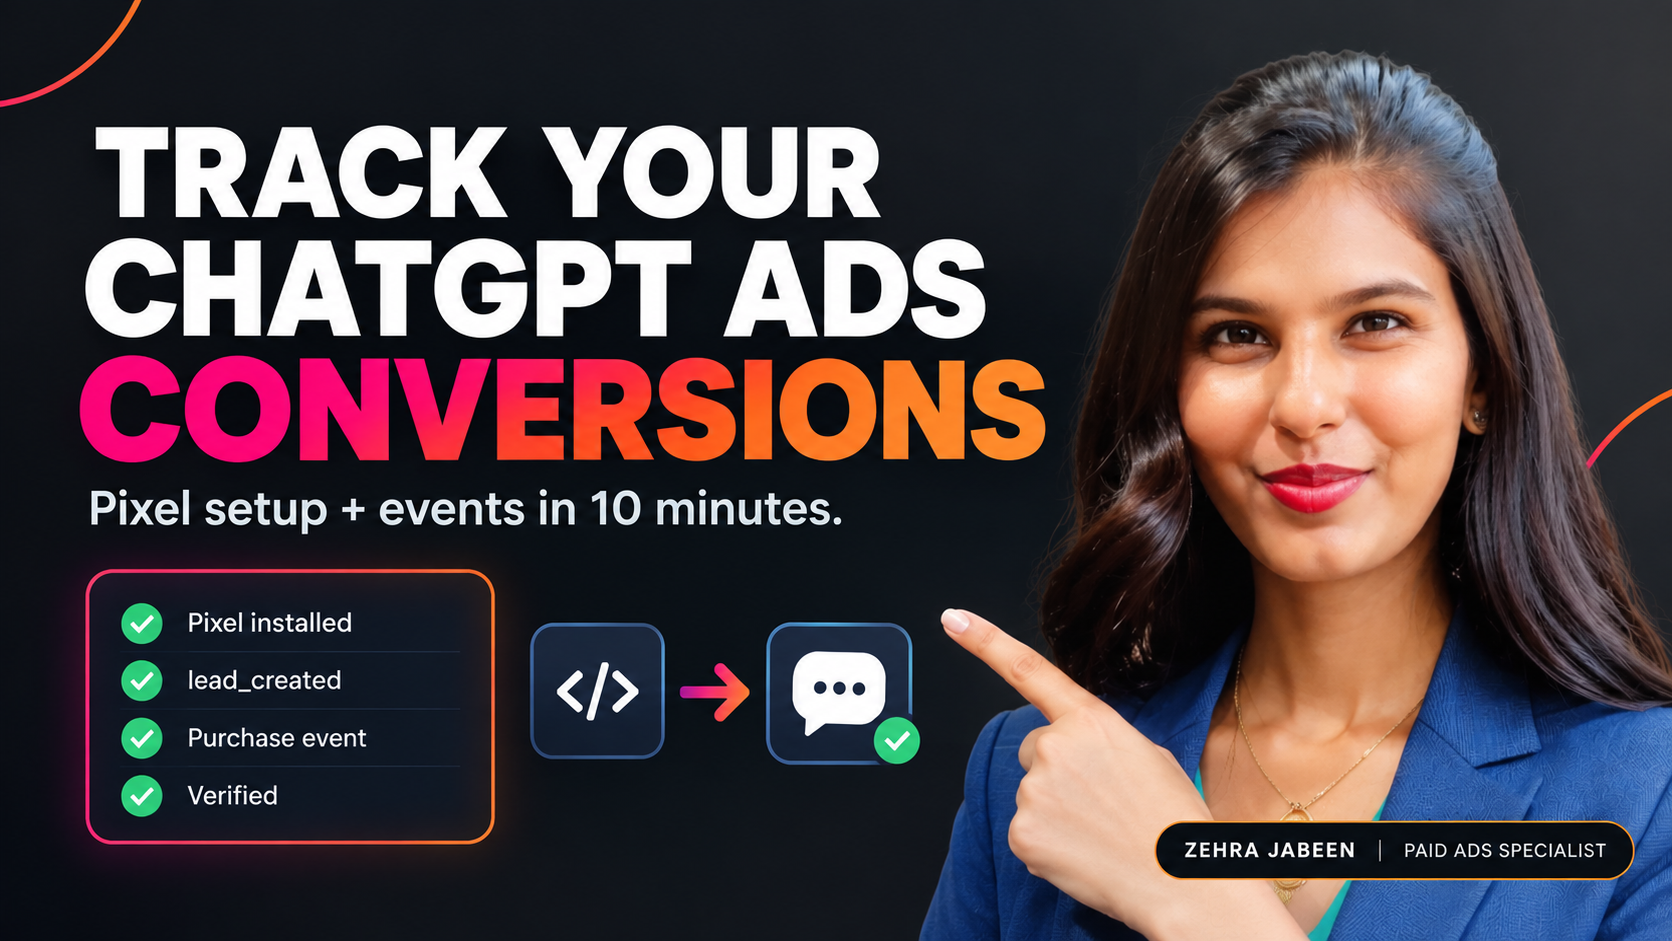
How to Install the ChatGPT Ads Pixel and Track Events (2026)
If you are about to test ChatGPT ads, do the tracking first. The channel is young, benchmarks are thin, and without a working pixel you will spend money and learn nothing. I set this up on WordPress sites built with Elementor, so this guide follows that exact route, then covers what people are actually paying and what results are being reported.
One honest warning before we start: almost every performance number published so far is an early estimate from an agency or vendor. I have marked which is which, so you can decide how much weight to give each figure.
The short version
- In ChatGPT Ads Manager, go to Tools, then Conversions, and create a Web data source. Copy your Pixel ID.
- Paste the base code sitewide in the header. Fire one event, such as
lead_created, only on your thank-you page. - Test with debug mode and the Network tab before launching anything.
- Reported US pricing is about $25 to $60 CPM and $3 to $5 CPC. Treat all results data as provisional.
How the pixel works
When someone clicks your ChatGPT ad, a click reference (oppref) is added to your landing page URL. The pixel saves it in a first-party cookie called __oppref for 30 days. When that visitor later completes an action you are tracking, the pixel sends the event to Ads Manager along with the click reference, so the conversion is credited to the right ad. OpenAI documents a 30-day click attribution window and a 1-day view-through window.
Before you start
You need a ChatGPT Ads Manager account, admin access to your WordPress site, and one clear action you want to measure first. Three things worth knowing:
- Who sees ads. Ads show to logged-in Free and Go users only. Plus, Pro and Enterprise users do not see them. PPC Land reported the UK go-live as 6 June 2026, but rollout has been staged, so confirm your own account has access.
- Agencies and freelancers. Search Engine Land reported that OpenAI advises against creating accounts on behalf of clients. The client creates their own account and invites you. There is no manager-account view across several accounts yet.
- Cookie consent. If you have UK or EU visitors, the pixel should respect your consent banner (covered below).
Install it on WordPress and Elementor
- Create the data source. In Ads Manager, open Tools, then Conversions, then Create, then Data Source. Name it, keep Web selected and click Create.
- Copy the snippet. Always take the code straight from Ads Manager, not from a blog. It should match the official base code shown below.
- Add it sitewide in the header. The two cleanest routes on an Elementor site are the free WPCode plugin (HTML Snippet, insertion set to Sitewide Header) or Elementor Pro, under Custom Code with the location set to Head.
- Clear your caches. Purge your caching plugin and CDN so the new header is actually served.
Official base code
<script>
  (function (w, d, s, u) {
    if (w.oaiq) return;
    var q = function () { q.q.push(arguments); };
    q.q = [];
    w.oaiq = q;
    var js = d.createElement(s);
    js.async = true;
    js.src = u;
    var f = d.getElementsByTagName(s)[0];
    f.parentNode.insertBefore(js, f);
  })(window, document, "script", "https://bzrcdn.openai.com/sdk/oaiq.min.js");

  oaiq("init", {
    pixelId: "<YOUR-PIXEL-ID>"
  });
</script>
Replace the placeholder with your own Pixel ID. While testing, add debug: true inside the init options to see validation messages in the console, and remove it before launch.
oaiq("consent", false) before init, then oaiq("consent", true) once the visitor accepts. Connect this to your cookie banner and mention the tool in your privacy policy. If you are unsure how your banner plugin handles this, check with whoever manages your compliance.Set up your events
Every event uses the same call: oaiq("measure", "event_name", { ...fields }). These are the standard events in OpenAI’s documentation:
| Event | Use it for | Data type |
|---|---|---|
page_viewed, contents_viewed | Page and product views | contents |
items_added, checkout_started | Basket and checkout steps | contents (amount and currency required) |
order_created | Completed purchase | contents (amount and currency required) |
lead_created | Enquiry or contact form | customer_action |
registration_completed | Sign-ups | customer_action |
appointment_scheduled | Bookings and consultations | customer_action |
subscription_created, trial_started | Subscriptions and trials | plan_enrollment (plan_id required) |
Lead or enquiry
<script>
  oaiq("measure", "lead_created", {
    type: "customer_action",
    currency: "GBP"
  });
</script>
Purchase
<script>
  oaiq("measure", "order_created", {
    type: "contents",
    amount: 2599,   // minor units: 25.99 pounds x 100
    currency: "GBP"
  }, { event_id: "order_12345" });
</script>
Amounts go in minor units, so multiply pounds by 100. The event_id is optional now but essential if you add server-side tracking later.
Where the event code goes
Fire the event only on the page that proves the conversion, normally a thank-you page. In WPCode, create a second snippet, paste the event code and use Smart Conditional Logic so it loads only when the page URL contains your thank-you slug, for example /thank-you/. In Elementor Pro, point the form’s redirect to that thank-you page and scope a Custom Code snippet to it.
Prefer Google Tag Manager?
That works too. Stape documents an “OpenAI Ads Pixel” template for web containers. Add it, enter your Pixel ID, choose whether to inherit event names from your dataLayer or override them, and trigger it on a custom event that matches your conversion. Load the base pixel on the “Initialization – All Pages” trigger so oaiq() exists before any event tag fires, and use tag sequencing if needed.
Server-side tracking and deduplication
OpenAI recommends running the pixel and the Conversions API together. The pixel covers browser actions, and the API sends server-confirmed events such as approved orders. To avoid double counting, use the same Pixel ID, identical event names and matching event IDs on both sides. Events like app_installed and app_opened must be sent server-side only. For most small sites, the pixel alone is enough to start, and the API can wait until volume justifies it.
Test it properly
- Turn on debug mode and read the console for validation messages.
- Open the Network tab and complete a test conversion. A “linked” event in the dashboard does not prove it is firing, so confirm the request actually posts.
- Use a pixel checker extension if one is available to you. Focal’s guide mentions a ChatGPT Pixel Helper for Chrome, but I could not verify it in the store, so check it is legitimate before installing.
- Test on the live site. Staging environments often do not report correctly.
| Problem | Likely cause | Fix |
|---|---|---|
| “validation failed; event dropped” | Wrong payload shape | Match type and fields to the docs, or use the snippet exactly as generated in Ads Manager |
| No events in the dashboard | Wrong script URL or event not firing | Check the loader URL and the Network tab |
| Ad clicks show as Direct in GA4 | No UTM parameters | Add utm_source, utm_medium and utm_campaign to every ad URL |
| Conversions counted twice | Event code on every page, or browser and server events not matched | Load it on the thank-you page only and reuse one event_id |
| Delivery throttled | Account verification incomplete | Finish business verification first |
What people are spending
Pricing has moved fast in a few months:
WebFX reports a default maximum CPM bid of $60, real-world clearing rates from around $25, and recommended starting CPC bids of $3 to $5. Tru Commerce puts the self-serve daily budget minimum at $25. WebFX suggests test budgets of $5,000 to $10,000 a month at entry level, $15,000 to $30,000 for a mid-range pilot and $50,000 or more to scale. Those are US agency figures, and a smaller UK business can test with far less if it accepts the data will be thinner.
A few other signals from the market:
- Revenue. eMarketer cites OpenAI’s own 2026 ad revenue projection of $2.5 billion, while estimating the chatbot ad market at under $1 billion this year, around 3% of total AI advertising.
- Trust. eMarketer also cites a January 2026 Ipsos survey where 63% of US adults said ads would reduce trust in AI search results.
- Bidding. The market is moving towards cost-per-click, and terms differ by route to market. For example, eMarketer reports a $10,000 minimum through Criteo.
Rates and results so far
Independent benchmarks barely exist yet. Everything below is an early estimate from vendors, so use it to sense-check a plan, not to promise a client an outcome.
| Metric | Reported figure | Source |
|---|---|---|
| Average CTR | About 0.9% | eMarketer, cited by Tru Commerce |
| CTR by industry | Roughly 0.4% to 1.5% | Lapis (estimate) |
| Conversion rate by industry | Roughly 3% to 11%, highest for education and local services | Lapis (estimate) |
| Effective cost per acquisition | $100 to $250 | Lapis (estimate) |
| CPC for software and finance | $8 to $18 | Tru Commerce |
| Google Search average CPC, for comparison | $5.42 | Lapis |
The pattern is lower click-through than Google Search but possibly stronger conversion after the click, because people arrive mid-conversation with a specific need. Lapis gives a worked example: a $4 click at a 4% conversion rate costs $100 per acquisition, against $150 for a $3 Google click at 2%. That is an illustration, and your offer and landing page will decide the real number.
A sensible first test
This is my own suggestion rather than an OpenAI recommendation. If you run a training provider, clinic or other service business, the reported conversion ranges for education and local services look encouraging, but small budgets produce noisy data. So keep it simple:
- One campaign, one landing page, one primary event such as
lead_created. - UTM parameters on every ad URL so GA4 shows the source properly.
- At least four weeks of learning before you judge performance, and a note of your cost per enquiry against your other channels.
- A fast, focused landing page, because a click that costs several dollars is expensive to waste.
If you are also weighing organic visibility in AI answers, my guides on AI-driven content creation and optimisation and the on-page SEO checklist are a good companion to paid tests.
FAQs
Do I need a developer to install the ChatGPT Ads pixel?
No. On WordPress you can paste the base code with WPCode or Elementor Pro Custom Code. A developer helps mainly with server-side tracking or dynamic purchase values.
Can I run it through Google Tag Manager?
Yes. There are templates for web and server containers. Fire the base pixel on Initialization – All Pages.
How long is the attribution window?
OpenAI documents a 30-day click attribution window and a 1-day view-through window.
Why do my ChatGPT ad clicks show as Direct in GA4?
Usually because the ad URL has no UTM parameters. Add utm_source, utm_medium and utm_campaign to every destination URL.
Are ChatGPT ads worth testing yet?
A small, well-tracked test is reasonable for many businesses because entry costs are far lower than at launch. Just keep expectations modest while benchmarks are forming.
Need help with paid media tracking?
I set up tracking, landing pages and campaigns across Google, Meta and newer platforms.
See my servicesRelated reading
Sources
- OpenAI Developers: Measurement Pixel
- OpenAI Developers: Conversion Tracking
- YouTube: How to Install the ChatGPT Ads Pixel & Track Events (2026)
- Focal: How To Set Up the ChatGPT Ads Pixel
- Stape: ChatGPT Ads Tracking Configuration Guide
- ConversionTracking.io: ChatGPT Ads Conversion Tracking
- SearchIntel: The OpenAI Ads Pixel (oaiq) Guide
- WebFX: How Much Do ChatGPT Ads Cost?
- eMarketer: FAQ on ChatGPT Advertising
- Lapis: ChatGPT Ads Conversion Rate Benchmarks
- Tru Commerce: ChatGPT Ads Benchmarks 2026
- PPC Land: ChatGPT ads go live in the UK
- Search Engine Land: OpenAI opens ChatGPT Ads Manager beta to UK advertisers
Figures gathered in September 2026 and liable to change. Benchmarks are early estimates. Always confirm current pricing and policy in your own Ads Manager account.